In OpenBuildings Designer it is possible to create Compound Wall adjusted to your project needs. In this article we are going to learn how we can create a compound wall, how we can then place it in our model and take advantage of editing layers.
Solution
STEP 1: Create compound parts in Family/Part Editor
Open Family/Part Editor, in the folder tree scroll down to the Compound Parts, notice that we have three paths listed for Dataset, WorkSpace and Workset. You can choose the level on which you would like to create new compound Parts.
Right click on the empty field and select New, now you can create a new xml file. This is just a file where the compound part is going to be stored.
Subsequently, when you have that xml, you can create the families.
After creating the family you can populate it with information by using the provided fields. Here you can provide information such as wall name and description.
Creating Compound Parts
Step 2: Create Catalog Item in Catalog Editor
Create new Catalog item.
You can decide if you want to save it in Workset/WorkSpace or Organization Level.
Fill in properties to have them automatically filled in each wall you will put in the project (you can edit it later)
The Ones which are important are: the check box of Compound WallAssembly, this has to be on so that you can select the compound Part.
Width doesn’t matter at all as it will use the width that’s defined by CompoundPart
The height of the wall would be default height when you place it. For example, we can put 4200 as our default height. This is editable even after you place your wall.
Additionally, you have to put in the Part Definition. We can do that by double clicking on the Part Definition value field and selecting our Family and Part from the drop down list. Click Ok and Save your changes.
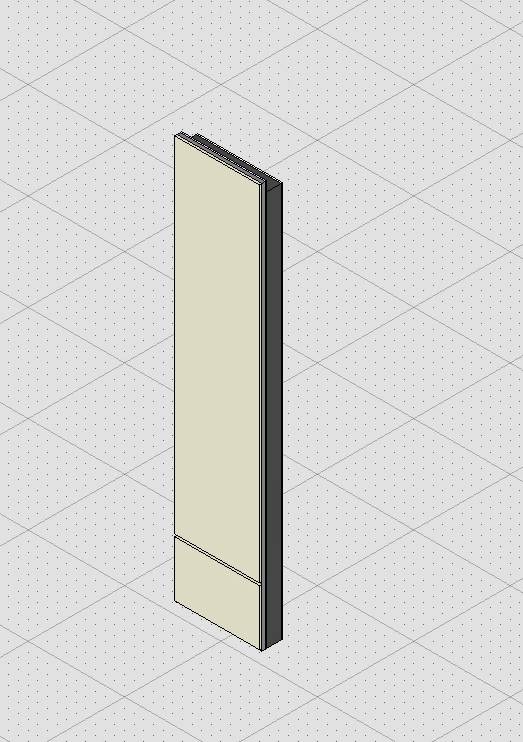
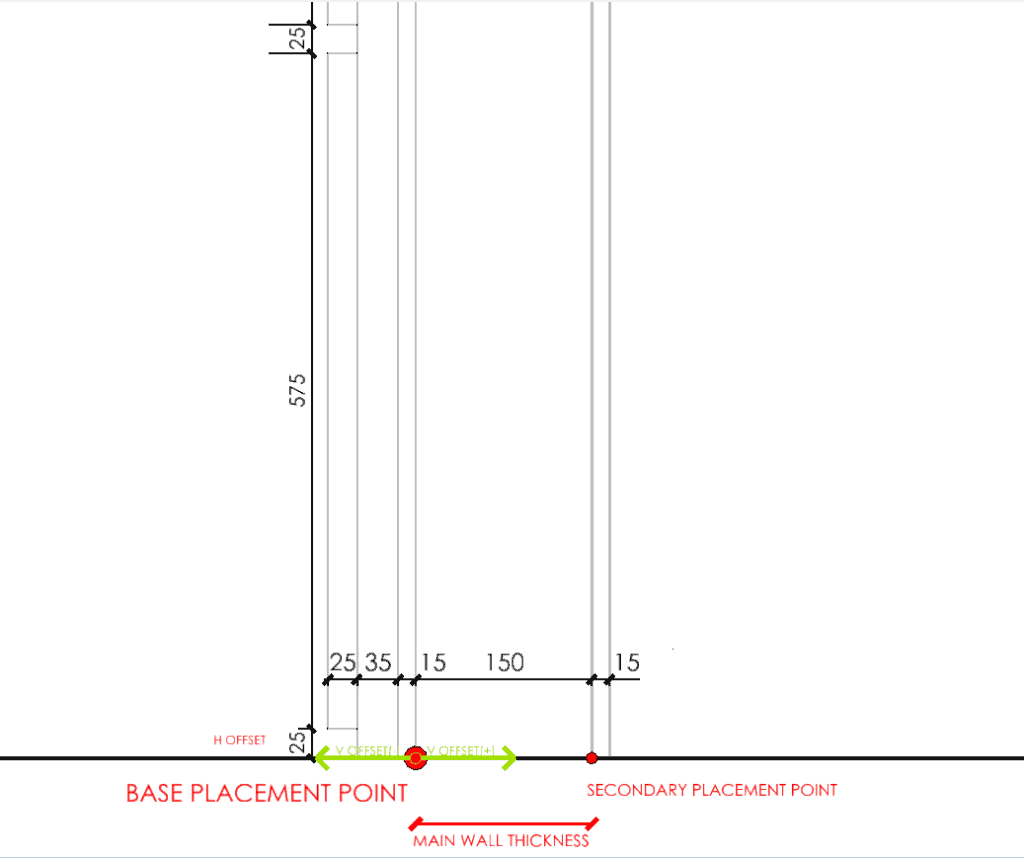
Now we can place the wall. You can find it now in your Wall tool.
Left/Right justification is connected with primary and secondary placement point described in the video 2.
You can change the properties of the wall and notice how the layers adjust to those changes.
Creating Catalog Item in Catalog Editor